Introduction
There are several ways of assigning material properties to components within ANSYS workbench. In this article, we will look at two of the methods. Most users of ANSYS will be aware of the first (“default” or “standard”) method, but the second method is lesser known. Having the option to apply material properties through the second method can have several advantages.
The standard method
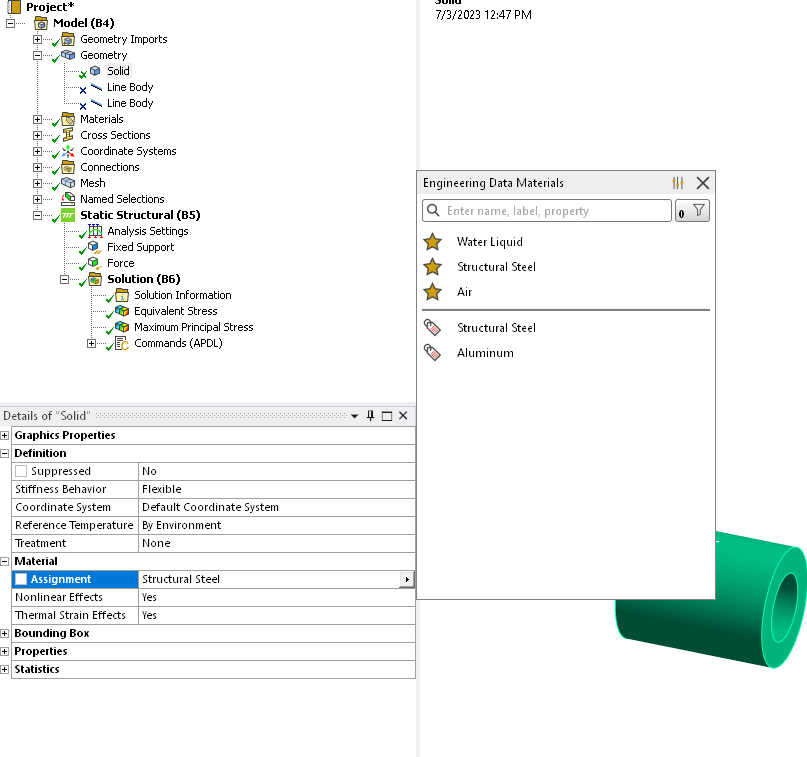
Click on the part to which you want to assign a material in the geometry tree. Under details, go to Material, Assignment, and select the material that you want – Fairly simple. Note that the material must already be defined under Engineering Data, and transferred into Mechanical.

The Material Assignment Object Method
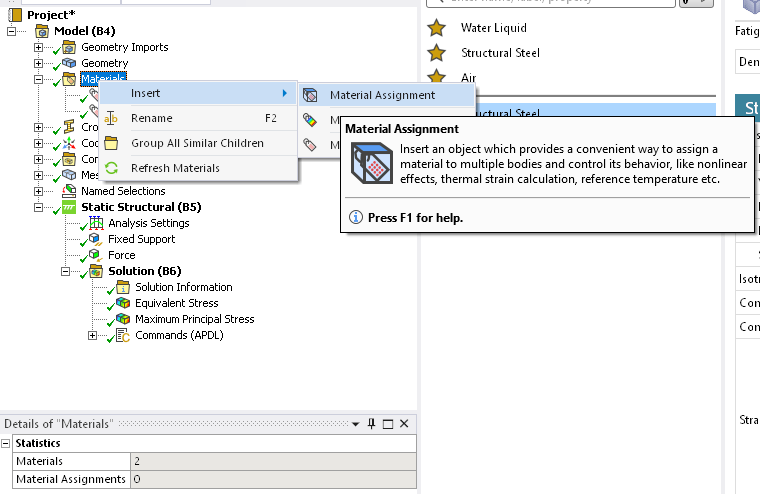
Another way to assign material to a component(s) is by going under the Materials tree, right clicking, and selecting Material Assignment.

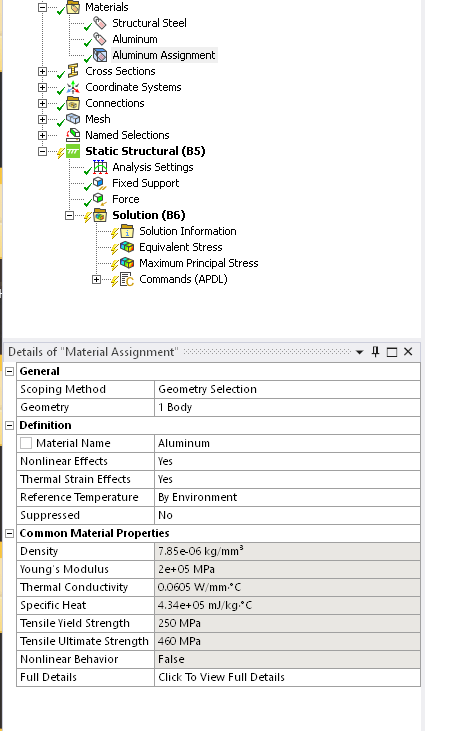
This will create a material assignment object under the Materials tree as shown below. You can then scope this object to one or more bodies and specify the material.

There are several advantages of using this method:
For example, you may have hundreds of components in an assembly and you may want to be able to switch their material properties quickly. You could create individual material assignment objects and choose the relevant bodies and materials for each one. Each assignment could have its own settings under the definition tree (related to nonlinear and thermal effects). You could then quickly suppress or unsuppress them as needed for your study.
